Greenhouse Update: North Roof
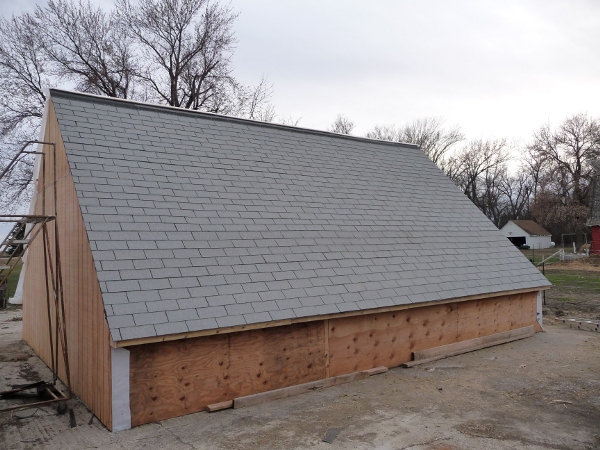
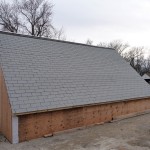
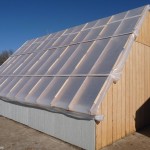
Posted by Nathan Maus | Under Winter Greenhouse Thursday Apr 8, 2010This weekend, we completed a major milestone on our path to completing the greenhouse at my mom’s house. With much help from Brad and Nikole, my sister and her boyfriend, we finished shingling the North roof. It feels great that it has the extra layer of protection from the elements and even though its external door isn’t complete (our next project) and it isn’t insulated, it still reaches 20 degrees above ambient in the afternoon.
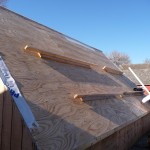
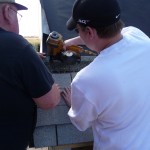
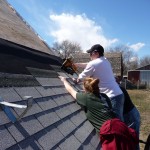
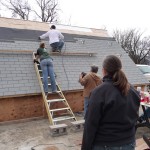
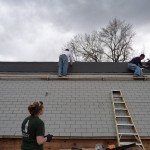
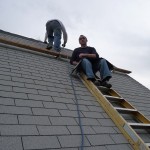
The North roof is constructed in a very conventional manner. If you were looking for a guide on how to replicate our work, you could find it easily by Google searching for “how to shingle a roof”. This was the first time we shingled, and while we learned a lot in the process, it was a very manageable task for someone who hasn’t done it before. We decided to use plywood for the sheathing as opposed to some form of OSB as we new it had the possibility of being exposed to moisture, both because it was going to be left exposed for a period of time, as I only can come out to the farm every couple of weekends or so, and because it will possibly be exposed to higher than average levels of humidity from inside the greenhouse. OSB is more sensitive to moisture and we wanted to avoid that. We covered the edges with drip cap, followed by tar paper and shingles. One thing that was a huge benefit to us was the fact that the edges of our roof are a mere three feet off the ground. That makes it much easier to work on and less intimidating for us novices, especially on a 45 degree roof. There were two things that made it much easier for us that our lumberyard provided for us, were a roofing nailer and roof jacks. You can see the roof jacks in the pictures below holding Brad up while he’s shingling. You nail them to the roof and then shingle over them. When you are done you remove them and pound the nails in the rest of the way.
A common question I’ve been getting is with regards to why half the roof is covered when all other winter greenhouses are glazed on all sides. Passive solar greenhouses, or winter greenhouses as they are also called, are optimized for winter usage. In Minneapolis and Montevideo, MN, where we live, the winter sun is at a low enough angle that the northern roof is shaded by the peak and contributes very little solar gain to the building. By insulating the North roof instead of using glazing, the heat loss out of the surface is dramatically reduced and the building will remain much warmer.
What we’ve accomplished so far
- Design the layout and cross-section of the greenhouse
- Install the sill boards
- Build the knee walls
- Build and install the trusses
- Build the end walls and divider walls
- Put siding on the exterior walls
- Install the North roof and cover the south roof.
What we’re going to do in the near future
- Build and install the external door
- Design and build the insulated floor
- Install the ventilation fans
- Determine the wiring system
- Side the North and South walls
- Paint the exterior
- Insulate and cover the interior walls.

 Hi, I'm Nathan Maus and I'm striving to take full responsibility for creating the world I want to live in. I created this website to share with you what I've learned.


Nathan, how is your greenhouse working, now that it’s cold out, and snow on the ground? What are you growing? How do you keep it warm, at night? Maybe you could post something on this. I’m interested, because I’m thinking of building a greenhouse in northern Michigan. Thanks.
Hey, sorry I didn’t see your comment sooner. We’re still in the process of building the greenhouse. We currently have it about 1/2 insulated and the doorway between the two rooms is covered with only a tarp. As of right now, it will heat up to about 60 on a bright sunny day, but it doesn’t take long for it to lose all of it’s heat. One greenhouse of this style that I would recommend looking into is http://www.gardengoddessenterprises.com. Their greenhouse is of a very similar style but is much more established. In the future, we’ll have an auxiliary heater to keep it above freezing but I doubt it will ever be really warm at night when it’s cold out.
Thanks for visiting.