

Why we chose to build a winter greenhouse
There are many reasons why we chose to start building a winter greenhouse, but they really boil down into three categories: Quality of food, food independence, and the desire to contribute towards a positive change in our society.
My family lives near Montevideo, MN. The quality of food there is ridiculously low. There are exceptions, as there are some CSAs around, but they are exceptions rather than the norm. The food is of the same quality as all low end grocery stores, which is to say that if the produce looks good, it’s loaded with chemicals, and if it says it’s organic, it looks like you wouldn’t want to eat it. All of it lacking taste and nutrition. All of it shipped in from some place like California, Mexico, or Chile. Like the majority of our nation’s prime farmland, Montevideo imports most of it’s food, which is completely unacceptable.
In the summer, we can grow our own food in our gardens. In the winter, however, we are entirely dependent on the importation of most of our food, although preserving our food does help some, there is no substitute for fresh. If we allow ourselves to be dependent on imported food then we are tacitly resigning ourselves to subpar foods. A greenhouse of this size coupled with root crops grown in the garden during the summer, can provide enough food for 15-20 families during the winter months as is evidenced by the Fords greenhouse, which is situated in Milan, MN not too far from my Mom’s house.
The lack of quality food, that is nutritious and free of toxic chemicals, inevitably results in a variety of health related problems. This is clear, both in society at large and within my own family. Growing our own food keeps our money at home in our own community and out of the pockets of large agribusiness companies who profit at the expense of the farmers, consumers, and the Earth.
The winter greenhouse, while not new, is still a fairly young concept that has not permeated into the mainstream consciousness. This blog is partially devoted to helping raise awareness of this tool. I truly believe that every farm or homestead in the Northland should have one, but that remains an intellectual construct that I’d like to cement with life experience. Also, as the economy toughens, this greenhouse at the least will provide for the reduction of the amount spent of groceries and provide a constant food source should times get really tough. At it’s best, it could provide a high quality food source for others and small income for us.
Other options for season extension
There are many other options for season extension including high tunnels/hoop houses, low tunnels, heated greenhouses, cold frames, raised beds, etc. We chose to go the passive solar greenhouse route for a couple of reasons. I’ll probably be proven wrong at some point, but I’m of the belief that it will get us the hottest temperatures in the dead of winter. Most of the other options aren’t insulated and don’t insulate the ground and as such can’t keep it as warm in the cold weather. Of course, a heated greenhouse will be the hottest, but on a small scale, the extra fuel costs will eat up all the benefits, especially in the beginning. One of the most important reasons to us for choosing a passive solar greenhouse though is psychological. The weather in Minnesota in winter is a bleak, desolate place. A warm, sunny greenhouse is a tropical oasis by comparison. It is a place where life flourishes and one can read a nice book while basking in the sunlight.
Key design features of a passive solar greenhouse
The design of a passive solar greenhouse differs greatly from that of a regular greenhouse, due to the winter environment that it will operate in. In the summer, the weather is warm and the sun is overhead. In the winter, the weather is cold and the sun is low in the southern sky. The passive solar greenhouse is glazed only on the areas of the greenhouse that will receive direct sunlight. The rest is insulated to prevent heat loss. The angle of the roof is important as you want to maximize the direct sunlight you allow into the greenhouse. Another interesting design choice is the ration of the length to width. Many people recommend a 2:1 length to width ratio or greater because if you get smaller than that the end walls will shade the plants for too much of the day.
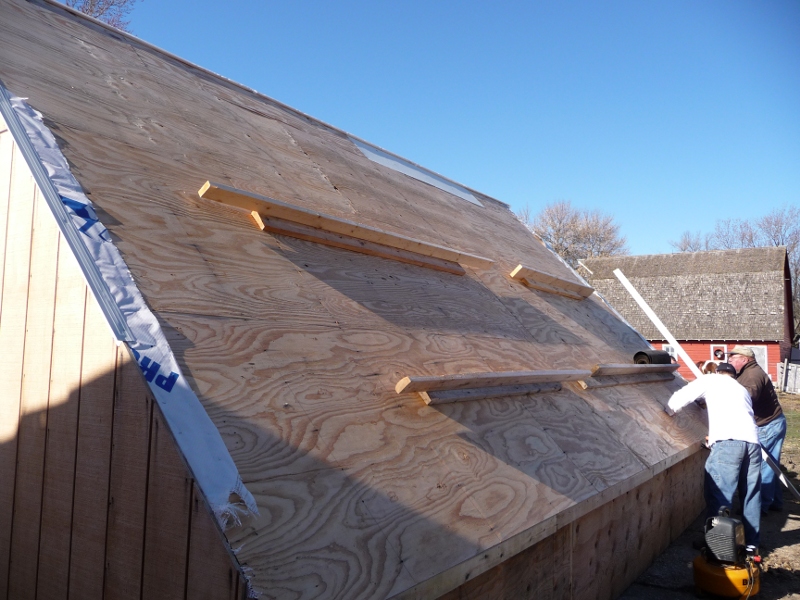
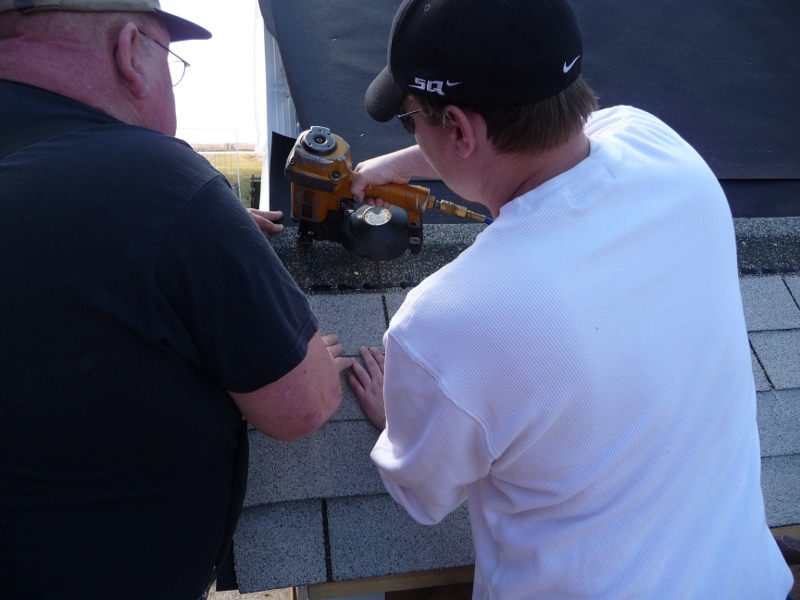
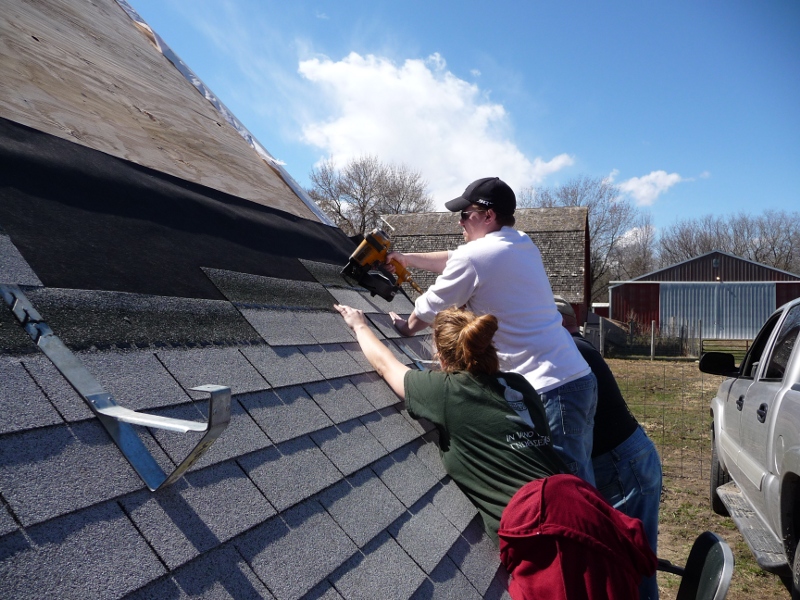
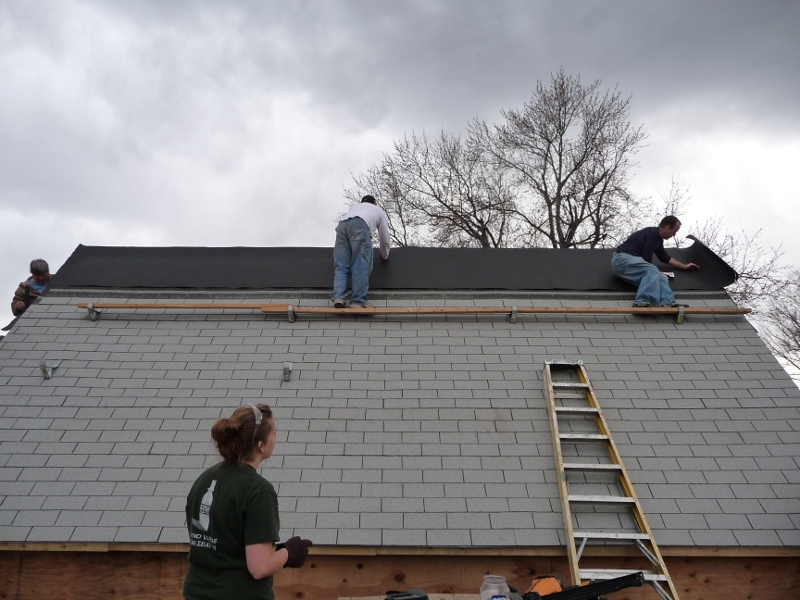
Our design and why we did it as we did


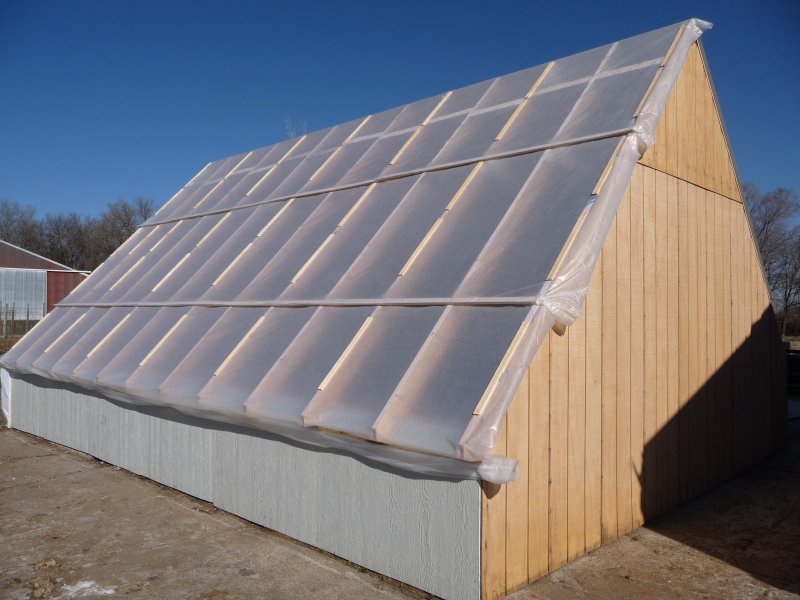
One of the things that is the most unique in our design as opposed to others we have seen on the Internet is that ours is built on a floating slab of concrete. Most people build theirs over a dirt floor so they can plant directly into the ground. We had an existing slab where a barn used to be that already had water and electricity run to the area. It was too good of a deal for us to pass up as it spared us from all the groundwork associated with building the foundation and bringing in water and electricity. We will have the unique challenge of trying to insulate the floor. Most people instead choose to insulate the foundation. I’ll elaborate more on that distinction at some later time. Ideally, for our latitude, we would want an the slope of our glazing to be 55 degrees to maximize the solar gain during the coldest parts of winter. We chose 45 degrees as the slope of our glazing. This seemed the best compromise for us. It simplifies the construction process for us amateurs. It also means that we’ll get slightly worse performance in the coldest parts of winter, but we’ll get better performance in the other winter months, which will enhance the season extension properties of the greenhouse. When you look at our drawings you’ll see that the greenhouse is divided into 2 rooms. The larger Southern room is the insulated growing room. The smaller Northern room is a storage area. We added the storage area room for a couple of reasons. The first is that it acts as a double door entryway to the greenhouse. This prevents any cold winds from blowing into the greenhouse space while entering and exiting. The second is that it simplifies our construction. The saltbox shape of the growing room is intentional as it reduces shade that would occur as the sun moves higher in the sky. Adding a room to the backside made the design of the rafters symmetrical. This had the side-effect of moving the edge of the North roof closer to the ground, which greatly eased the roofing process. A third benefit is that it offers an area for storage that is outside of the growing area. This will help keep clutter out of the growing area and maximize the area that is useable for plants. The greenhouse is 24′ long and 18′ wide. Of that, the growing room is 24′ by 12′ which follows the 2:1 ratio preferred for passive solar greenhouses.
The greenhouse for my family is interesting in the sense that it has been a catalyst in conjuring up our imaginations. My mom is having visions of salad greens running through her head, and I’m having visions of a project completed and full of utility. I think she’s wanted a greenhouse for a long time, and is excited about getting one when she wasn’t expecting it. Also given that it’s at her house, I feel progress for her is moving really slowly, since she sees it standing still so often. I’m really excited about the possibility that she could be entirely self-sufficient food-wise in the near future and could be providing the rest of my family with quality food and nutrition not too far after that. This weekend we will be returning to the farm to build the external door, and will post on that when the opportunity arises.


 Hi, I'm Nathan Maus and I'm striving to take full responsibility for creating the world I want to live in. I created this website to share with you what I've learned.


